I am hoping my husband will paint the ceiling.
Here is a pic of the new (old) table and chairs. Mickey loves sitting on the tablecloth and looking out the window.(The radiator is right under the table). He's no fool! Sorry about the blurriness, but the auto-focus was off on my camera when I took it.

While I was getting ready to do my 2018 update, I found a few from 2017, that I neglected to include.
I finished up The Industrious Bee Sampler.
I like the way it looks on the raw linen.

 |
| Industrious Bee Sampler 28 ct Irish Linen using DMC |
Next I stitched The Mini Bunny Egg from Waxing Moon Designs. This was intended as an ornament. I bought some trim for it, but never got around to making it up. I was disappointed that the stitching didn't show up better.

 |
| Mini Bunny Egg - Waxing Moon Designs 40 ct hand dyed raspberry linen and DMC threads |
Then I finished up my Victorian Velveteen Rabbit.
Meet Sebastian . . .
 |
| Sebastian |
The pattern said to use pipe cleaners. I didn't have any. I used the only wire I had which was very very thin, too thin! It either broke, or popped right out of place. I fussed and fussed with it, but I really couldn't do anything about it.
I would like to revisit the situation someday, but I really don't have a good idea how to fix them without taking the whole head and ears apart.
It was a disappointment after all that work!

He mostly looks like this now. His ears are floppy and no longer poseable.

Oh well, I still like him.
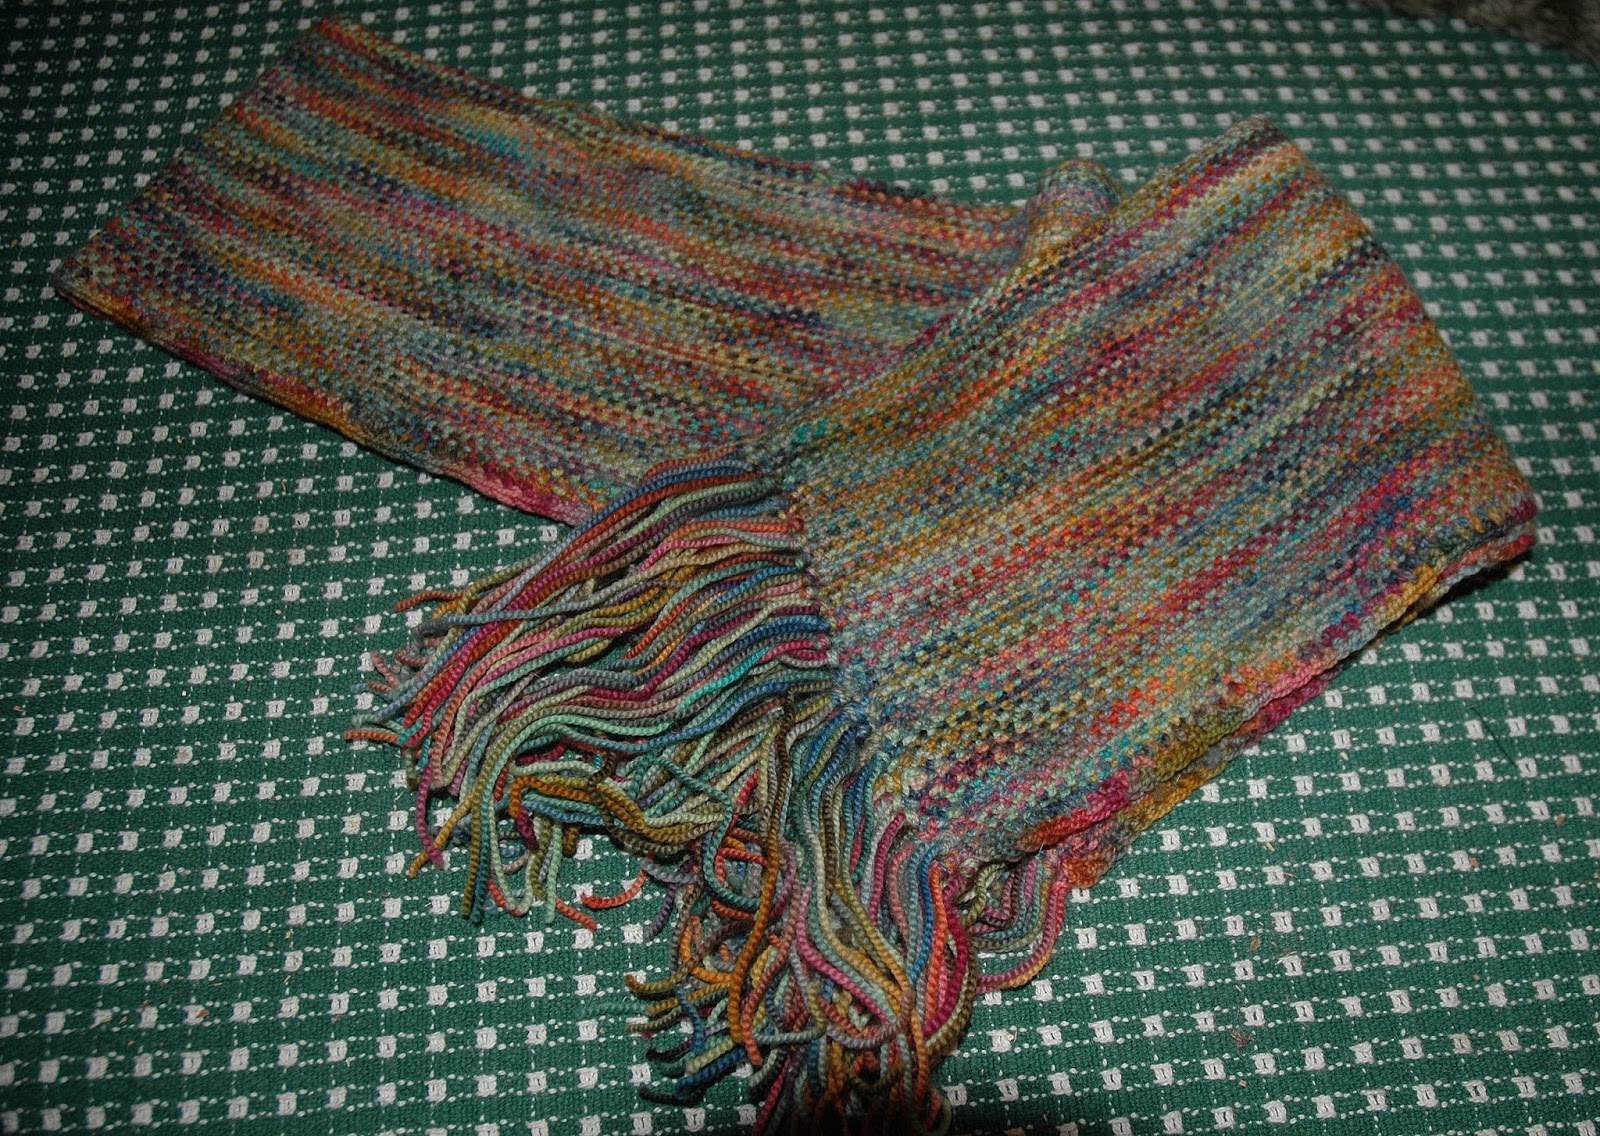
I knitted a linen stitch scarf, which I actually finished last December 2017, but I never took a picture of it. I used Kougi hand painted merino yarn. this was a fun project to do, and it came out just the way it was supposed to for a change!
After this, I know I worked on several beaded Christmas ornaments, but I don't have the photos here.
2018
I started 2018 with an old stamped sampler that I have had in my stash for ages.

 |
| Give to the World Your Best Sampler - Paragon |
These stamped samplers are great when you just want to relax and not think too much!
Next, I stitched Counting Magpies from Birds of a Feather.
This is an old English rhyme that goes:
1 for sorrow, 2 for mirth,
3 for a wedding, 4 for a birth
5 for silver, 6 for gold,
7 for a secret, not to be told.
8 for heaven, and 9 for hell,
10 for the devil's own sel.
I stitched it on overdyed linen using weeks threads.
 |
| Counting Magpies - Birds of a Feather 28ct overdyed linen with Weeks Threads |

Next. I stitched Americana Sampler from The City Stitcher. I have long been a fan of The City Stitcher!
This one worked up quickly. I like the primitive look of it on the 28 count raw linen.

 |
| Americana Sampler - The City Stitcher 28ct raw linen and DMC threads |
 |
| Dragonfly Pillow Cover |
The body and wings are worked in satin stitch. Other stitches used are stem stitch, and French knots.
Please forgive the wrinkles!
I have not gotten a chance to make the pillow, but it will work up to 21" X 21".
Then, I started my new project.
 |
| Flower Power - Crossed Wing Collection 32 Ct Antique White linen with DMC and metallic threads |
I put it aside for a while to work on the Christmas stitching. This is what I have so far.

Please forgive the wrinkles.
I left off working on the nasturtiums on the lower right corner. I love how realistic everything is.
I love the bugs the best. Notice the caterpillar on the leaves.
I love the bee on the Shasta daisies below too!

The insects are all done one over one, so they take quite a while, but it does give them great detail.
I will go back to this after the holidays.
Next I turned my attention to some goldwork.
For the longest time, I have wanted to stitch the goldwork Christmas ornaments from Benton & Johnson. For those of you not familiar with Benton & Johnson, they are an English company that has been providing the gold metal threads for the Queen of England's Wardrobes and badges. They have been around for ages and ages!
They are now part of Toye Kenning & Spencer. Their website is not very easy to use, but if you do a search on Christmas ornament kits, you will find them. There are three of them, a Dove, a Snowflake, and an Angel, and best yet, they are on sale.

All things considered, these kits are really quite a good value considering the quality of everything included. The problem however is with the shipping from England! OMG! $$$.
Because of this, I thought about it for a long time before I decided to go for it.
These kits are all designated for beginners, but I would say that it would be good to know something about stitching. None of the stitches in themselves are difficult, but working with the metal is, well, fiddly at times.
The Dove looked the easiest, so I decided to start with that one.


The kit included the pattern with a little instruction booklet, the calico (ground fabric), the backing fabric, the felt padding, red wool felt, the spooled couching, the sewing threads in yellow, red and metallic gold, and all the gold threads, and the spangles. There aren't a lot of photographs in it, mostly drawn diagrams. Also included is a heavier gold thread for hanging the ornament.
There are directions for tracing the design and transferring it to the ground fabric. I traced the design onto some waxed paper and basted over the design.

Then I couched the gold perle on top of the stitching. This part is a little tricky. The gold has to be stretched a little so the yellow thread will go inside the coil, and will not show. You have to be careful not to overstretch it.
It was a pleasure working with all these materials. They were clearly of very fine quality.
I made the snowflake next, saving the angel, which seemed the hardest until last.
The hardest thing about the angel was using the gold plate. It had to be folded back against it self over and over again, all the while minding the direction and shape of the angel's wing.
Well, I'm certainly not in the same league as the Benton & Johnson people, but I got it done!


Here are all three of them.


I am glad I got them done. We will enjoy them for years to come!
After these, I worked on some Mill Hill beaded ornaments. I have been working them double, and then whip stitching them together so they can be seen from both sides. Some of them I had done one side last year, and just had to finish them,
I worked the Aqua Crystal this year. It is the 5th of 6 in the series of crystals.
 |
| Aqua Crystal Snowflake - Mill Hill |
There is one left in the series. I will save for next Christmas.
I also finished a few others:


I made a few others but I can't seem to locate the photos.
WOW! I feel like I have been writing for hours! That's what I get for not updating more often!

