I stitched Easter Basket, and finished it without any issues! This was from the Easter Parade chart from Blackbird Designs. I stitched the rabbit some years ago.

Here is how it came out:
 |
| Easter Basket by Blackbird Designs Stitched on 36 ct linen using GAST threads |
Of course I still need to find a frame for it. I think if I stitched it again, I might change the colors a bit.
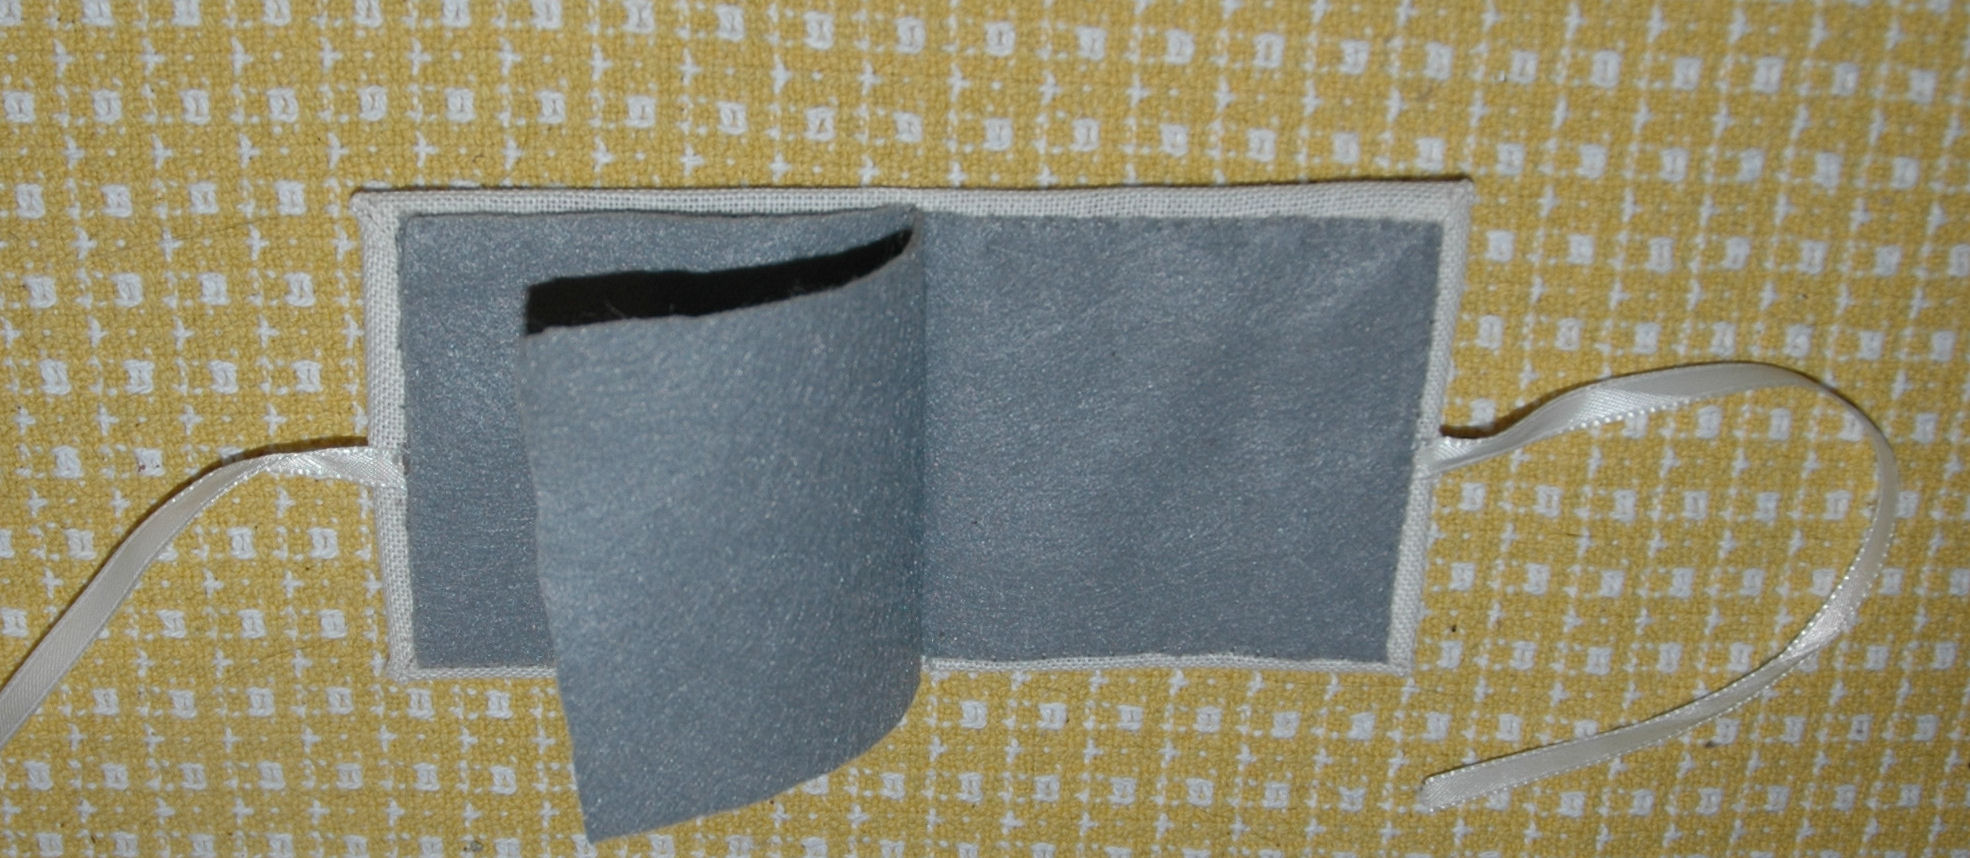
Well, after that, my thinking was that I would fit in a little Christmas ornament before I started a larger project. That is where my troubles began!
I chose Seraphina. This is an oldie that I have had in my stash for a while. The actual chart I had was for a Christmas card.

I have thought about this one for some time. I decided to swop out the aida for 32 ct linen, and the color of her coat from green to red.
Somehow I stupidly miscalculated the size of the linen needed. I didn't realize it until I had half of it stitched! I don't know what I was thinking! Then I realized that the white on her muff and eventually her hat, really didn't show up against the white linen. So I decided to stitch the fuzzy parts with Wisper (Rainbow Gallery). This isn't the easiest to use. You have to keep the lengths short because it frays a lot. I finished the muff, but it doesn't look the way I thought it would. It seems rather worn, rather than the fluffy look I was going for. I don't know whether to frog it or not. Maybe I should just quit, and start again on another color linen. Maybe the third time is the charm! LOL!
What do you think?

I have stitched some very large, complicated projects that didn't cause me anywhere near the frustration that this little one has!
Okay, concurrently while I was stitching Seraphina, I was also trying to frame a large project that I finished years ago. Finally decided on a frame, even though it was really too big for it. That meant getting a mat. OMG that took me hours to select, and I only pray that I got the dimensions right! I bought it online, and it was expensive!
This is my year of finishing, and stitching from stash, but I did cave into temptation on one chart I have had my eye on.
This came in the mail today.
 |
It is Painted Flowers from Shakespeare's Peddler. I procrastinated as long as I did because it calls for 40 count black linen. For some reason this is not available anywhere! Also, I don't think my poor eyes could handle it! I have ordered some 20ct black aida. I hope this will have a similar enough look to the linen, but I am worried about it. The other choice would be to try to find 20ct black linen, and stitch one over one. I didn't know if the linen would hold up to that.
I will pop back in a few days to let you know my progress.


